
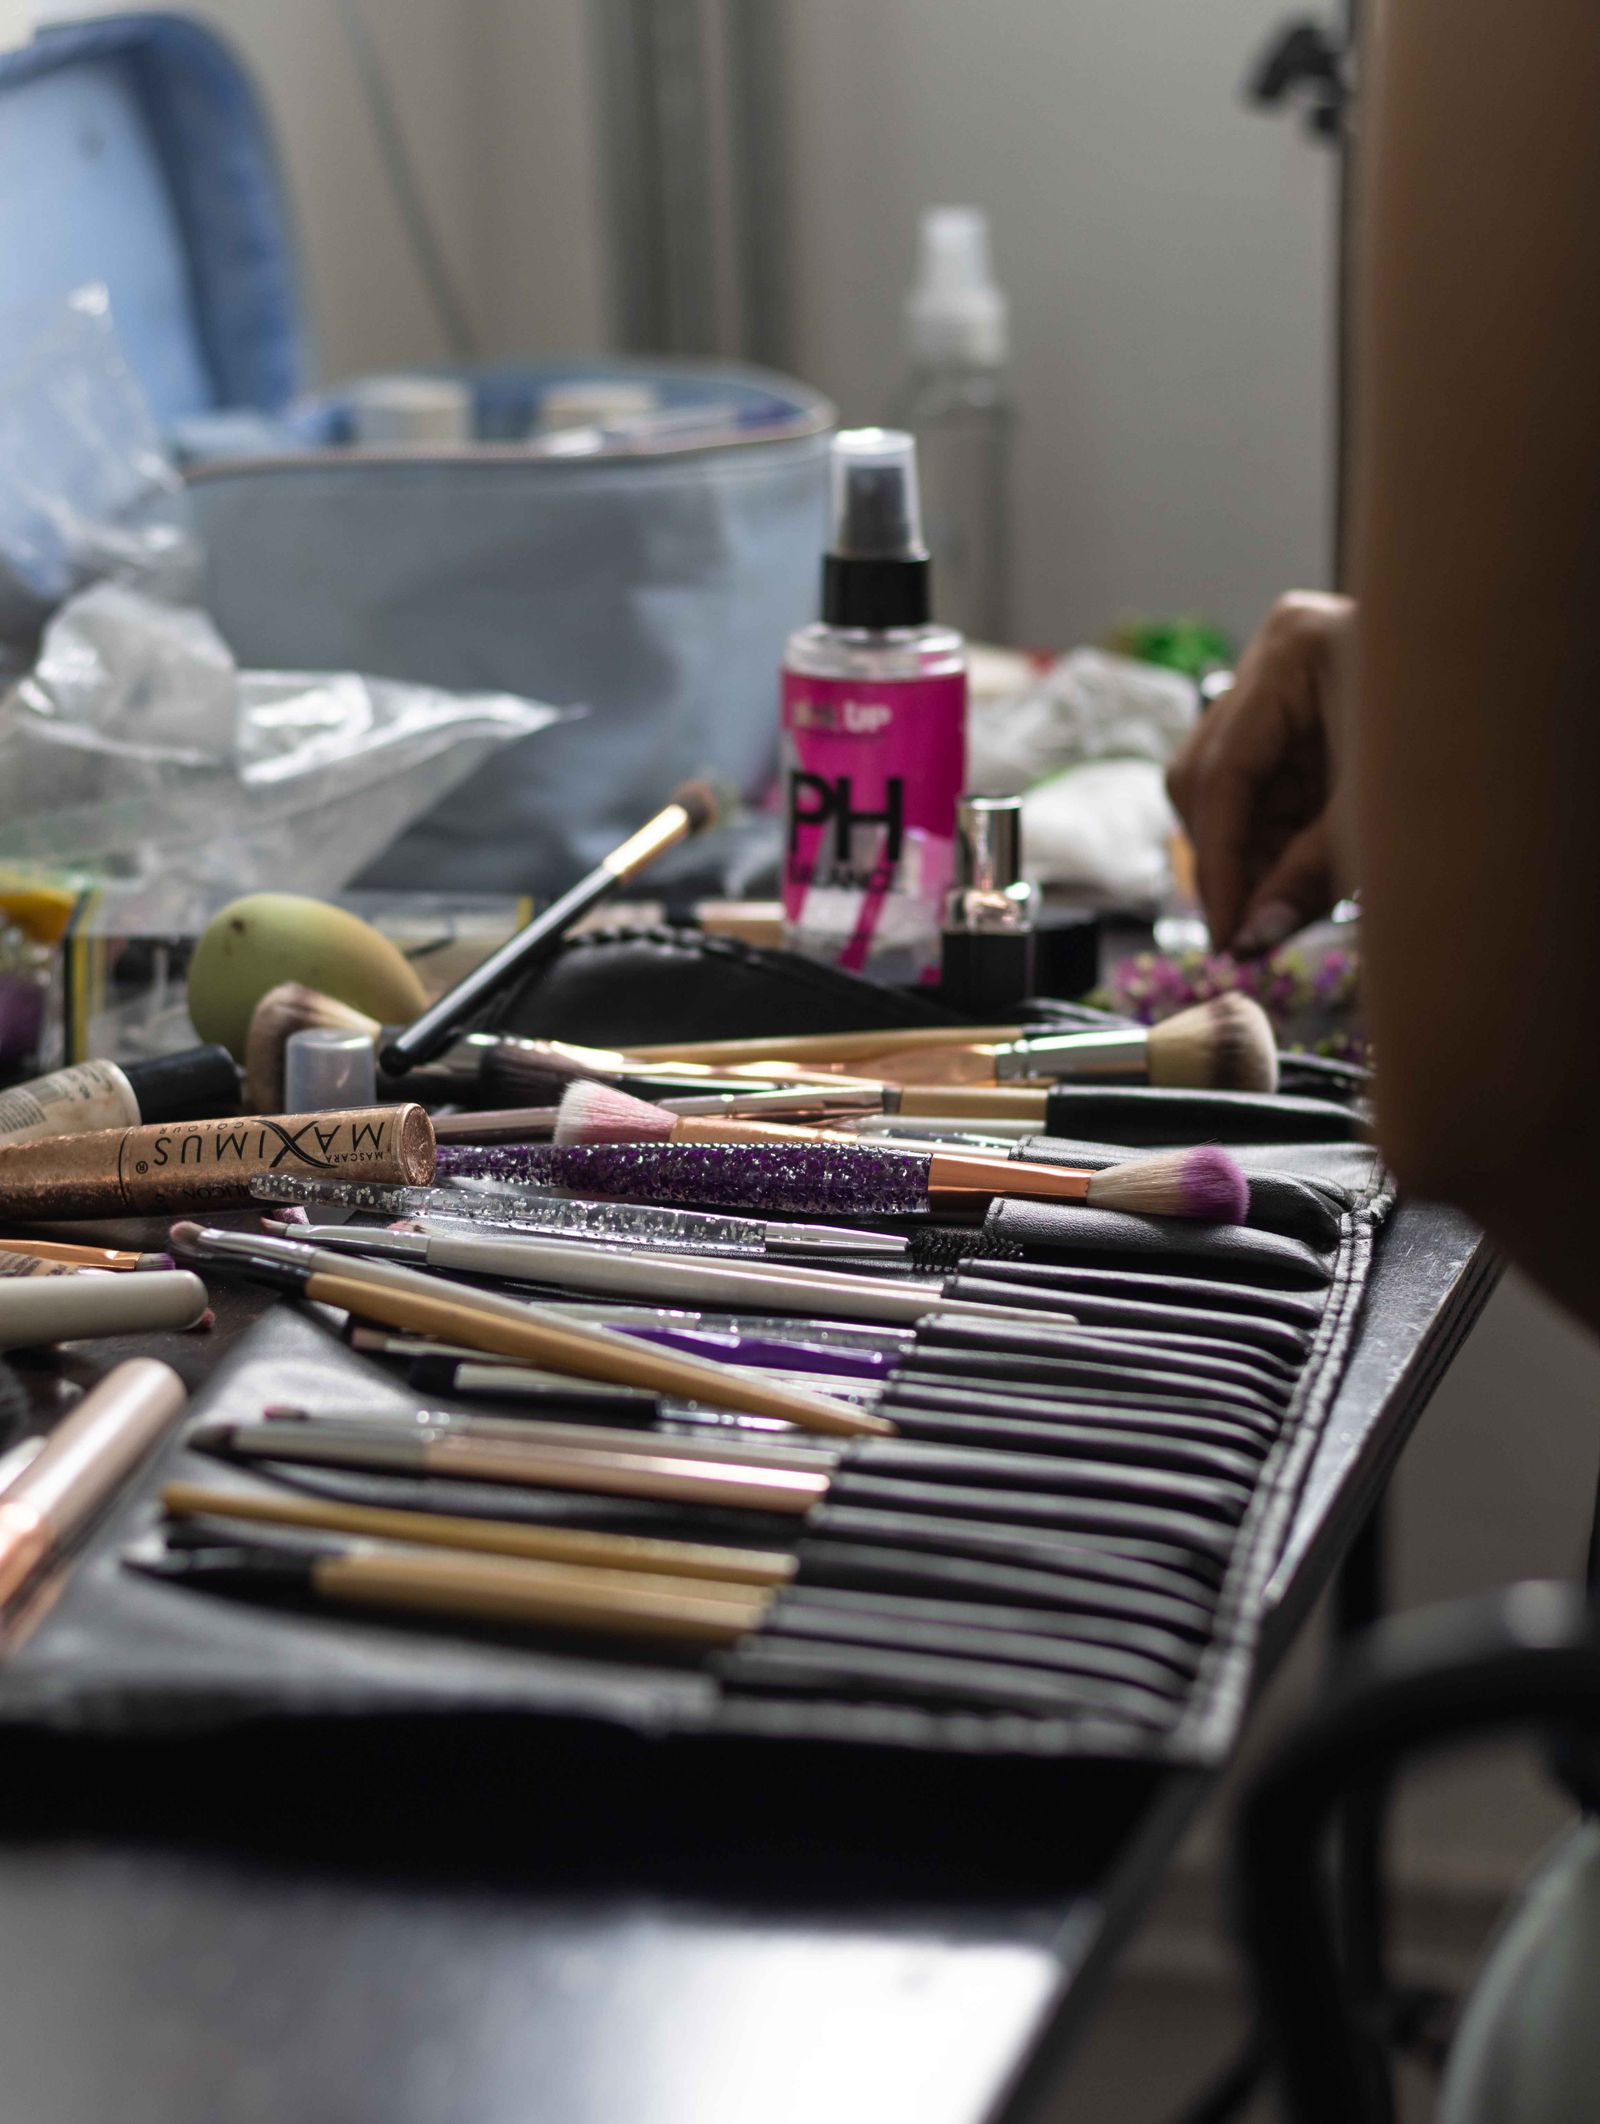
Clean makeup brushes are part of a practical facial-care routine. Wash them regularly, rinse thoroughly and allow them to dry fully before the next application. The American Academy of Dermatology recommends cleaning brushes every seven to ten days. Keep any specific care instructions for your tools in mind as well.
The hardest part is often remembering to start early enough for drying. This guide turns brush cleaning into a manageable task, with a simple setup and a way to keep used tools separate from those ready for your face.
Choose a cleaning time that leaves room for drying
Look at when you next need your brushes before starting. Washing them just before applying foundation creates an unnecessary rush. An evening when you can leave a clean drying area undisturbed is often easier to manage.
Choose a recurring day on your own calendar and check the brushes then. If your tool manufacturer gives a different care method or schedule, read it before washing. A reminder helps you inspect your actual tools rather than relying on a vague memory of the last cleaning.
Set up a small washing station
Gather lukewarm water, a bowl, suitable gentle shampoo and a clean drying surface. AAD describes a shampoo-and-water method. Keep the working area clear enough that you can handle one brush at a time without mixing clean and dirty tools.
Sort your brushes by what you use them for. This is an organizing step, not a requirement to buy additional tools. Put those waiting to be washed on one side and reserve a separate spot for rinsed brushes. Keep cosmetics closed while you work.
Wash the tips gently and rinse well
Rinse the bristle tips, avoiding soaking the whole brush head and handle connection. Swirl the tips in the prepared shampoo solution and rinse. Repeat as needed until the rinse water is clear. Follow the brush maker’s instructions if the materials need special handling.
Do not turn washing into an attempt to scrub the brush against a rough surface. Work steadily through the residue and check the rinse instead. If a brush remains stained, distinguish a remaining color mark from fresh product still washing out; ask the maker for care advice when unsure.
Dry flat rather than standing brushes upright
Gently remove extra moisture. AAD advises laying brushes flat on a towel with the bristles extending beyond the counter edge, rather than drying them upright where water can run toward the handle connection.
Choose a stable place where the brushes will not fall or be used accidentally. Keep the drying arrangement separate from your everyday brush cup. Before putting everything away, check that the tools are dry. Do not seal damp brushes into a travel pouch simply to clear the counter.
Keep the routine personal and inspect worn tools
Do not share brushes. Use your own tools and keep clean supplies distinct from those used during application. Cleveland Clinic also recommends replacing a brush when it becomes worn or loses its shape. Cleaning does not repair a damaged tool.
Keep a short list of the brushes you actually reach for. A smaller, useful set is easier to maintain than a crowded collection you rarely inspect. You do not need an expensive organizer: a clear distinction between ready, used and drying tools is enough.
Know what brush cleaning cannot solve
Cleaning brushes is a hygiene step, not a treatment for every breakout or rash. If irritation or recurring blemishes continue, seek advice rather than assuming you simply need to scrub tools or skin harder. Eye pain, drainage or significant redness after makeup warrants medical attention.
For the other end of the day, see our guide to gentle makeup removal. Combine manageable tool care with a routine you can sustain, and keep product-specific application directions separate from general brush maintenance.
Sources and further reading
EuZen in your cosmetic routine
For EuZen, follow the application instructions. EuZen provides a temporary cosmetic effect; individual results vary. It is not a treatment for irritation or a replacement for sun protection. View EuZen on Amazon.